Reviewing Form I-9 Approvals
Once an employee has submitted Form I-9 Section 1, users who have been set up as an I-9 Approver can complete Section 2. For more information about the employee process for completing Section 1, see See Employee Process for Completing Form I-9 Section 1.
To complete Section 2 of Form I-9:
-
Click the Client menu.
-
From Client|Action, click Approvals Pending. The Approvals Pending form displays.
-
In the Approvals Pending (Assigned to You) panel, click I-9 Section 2 for an employee. The I9 Section 2 form displays.
Note: If multiple users have been set up as an I-9 Approver, pending approvals display in the Approvals Pending (Available to You) panel instead. Click I-9 Section 2 for an employee in this panel to display the Approval form, then click Grab to move the approval into the Approvals Pending (Assigned to You) panel. Once the approval displays in the Approvals Pending (Assigned to You) panel, click I-9 Section 2 for an employee in this panel to display the Review I-9 Section 1 step of the I9 Section 2 form.
-
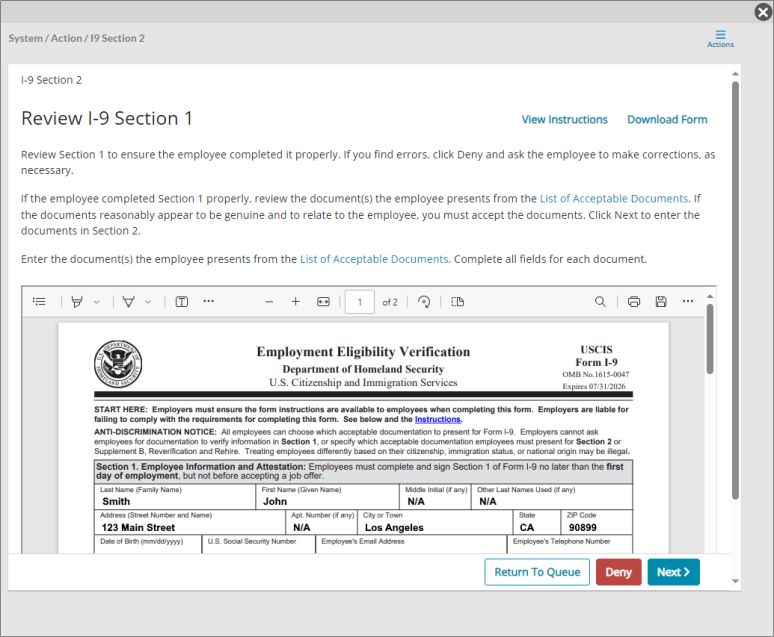
Review the employee's entries on Form I-9 Section 1. If changes are necessary, click Deny to return Section 1 to the employee for corrections. Otherwise, click Next. The Employment Eligibility Verification step displays, where supporting document information can be entered. Alternatively, if the employee uploaded supporting documents while completing Section 1, the documents display and can be reviewed.
-
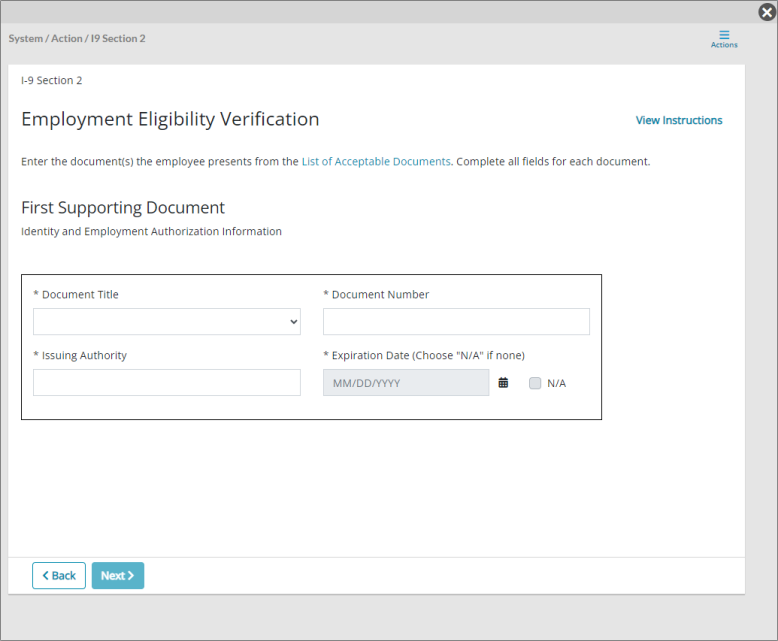
Enter document information in the corresponding fields as necessary. When information for all supporting documents has been entered, click Next. The Additional Information step displays.
-
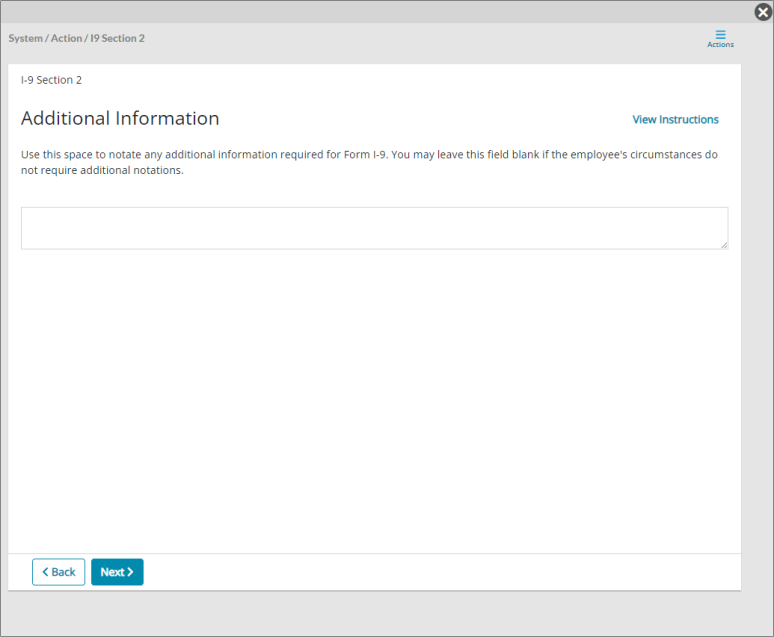
Enter any additional information about the form as necessary, then click Next.
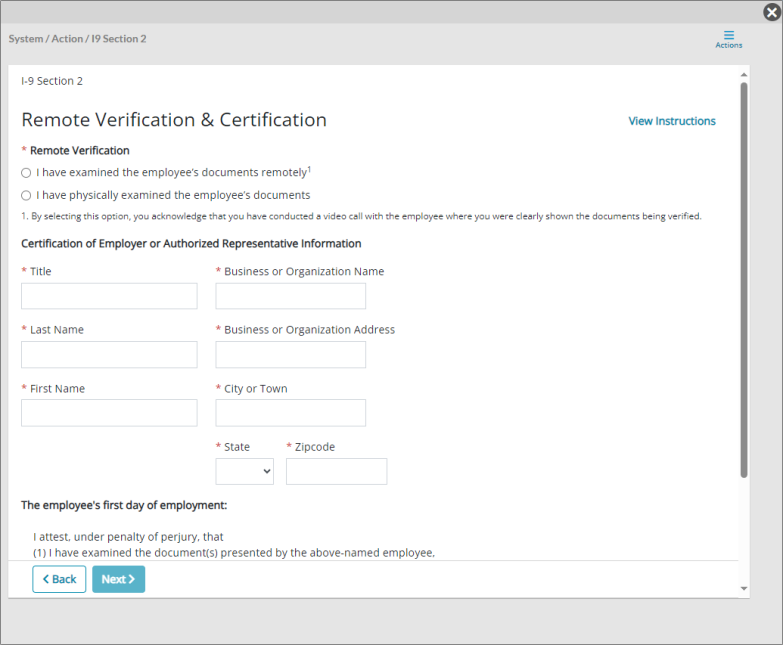
If remote verification is enabled for the user's worksite location, the Remote Verification & Certification step displays. If remote verification is not enabled, the Certification step displays. The fields that display in these two steps are identical; however, the Remote Verification & Certification step includes additional options for indicating whether the user examined the employee's supporting documents physically or remotely using an alternative procedure authorized by the Department of Homeland Security (DHS).
For more information about remote verification,See Maintaining Worksite Locations
-
Indicate whether the employee's documents were examined remotely or physically, if applicable, and then enter employer or authorized representative information in the remaining fields. Once all entries have been made, click Next. The Review I-9 step displays again, where the complete Form I-9 can be reviewed.
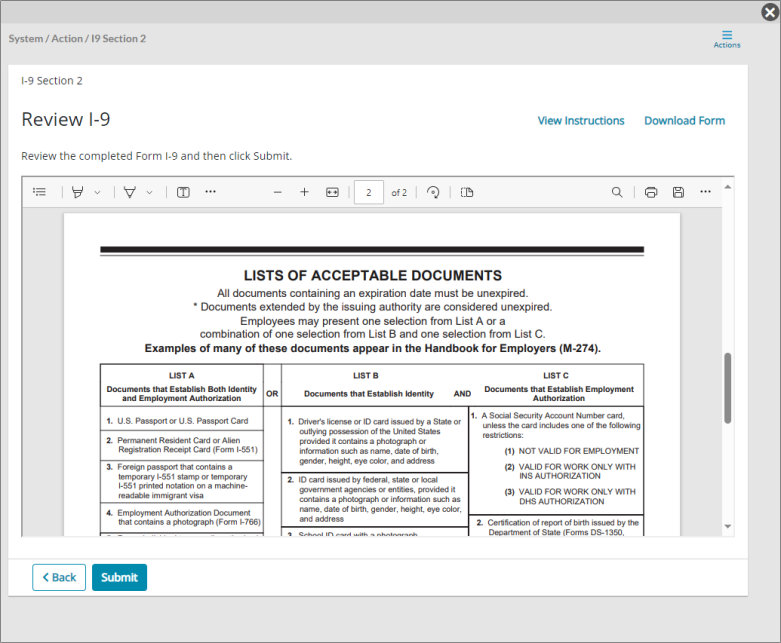
-
After reviewing the completed Form I-9, click Submit. A message window displays to confirm the form should be submitted. Click Yes to submit the form. The form is then submitted, and options for downloading or printing the form display.
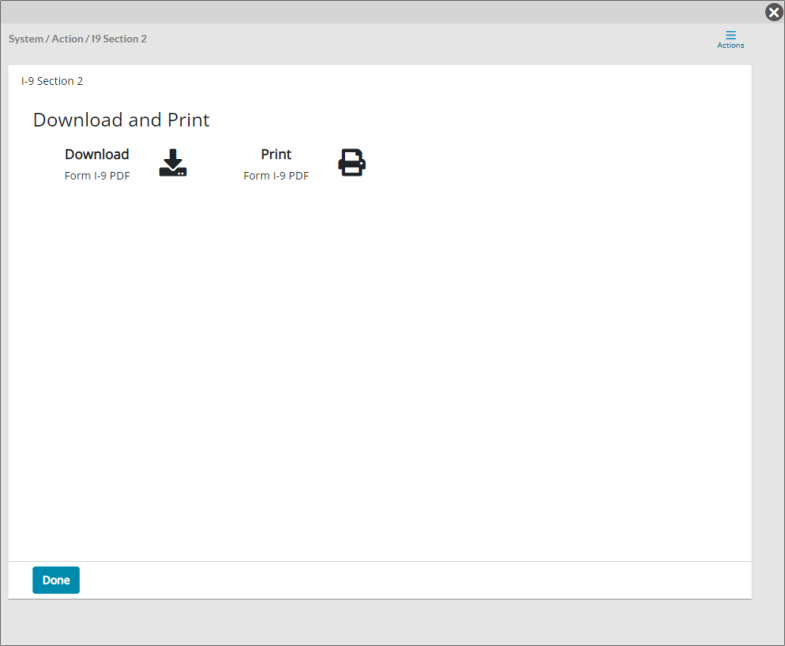
-
Click Download to download the completed Form I-9, or click Print to print the form.
-
After downloading or printing the form as necessary, click Done. The I9 Section 2 form closes.
